Red Light Panel Placement and Setup
Sep 27,2026 | LumHarbor
A good setup starts with a stable location and the instructions for your specific model. Panel sizes, stands, controls, and included accessories differ, so use the product listing and the guide supplied with your panel as your reference.
Choose a practical location
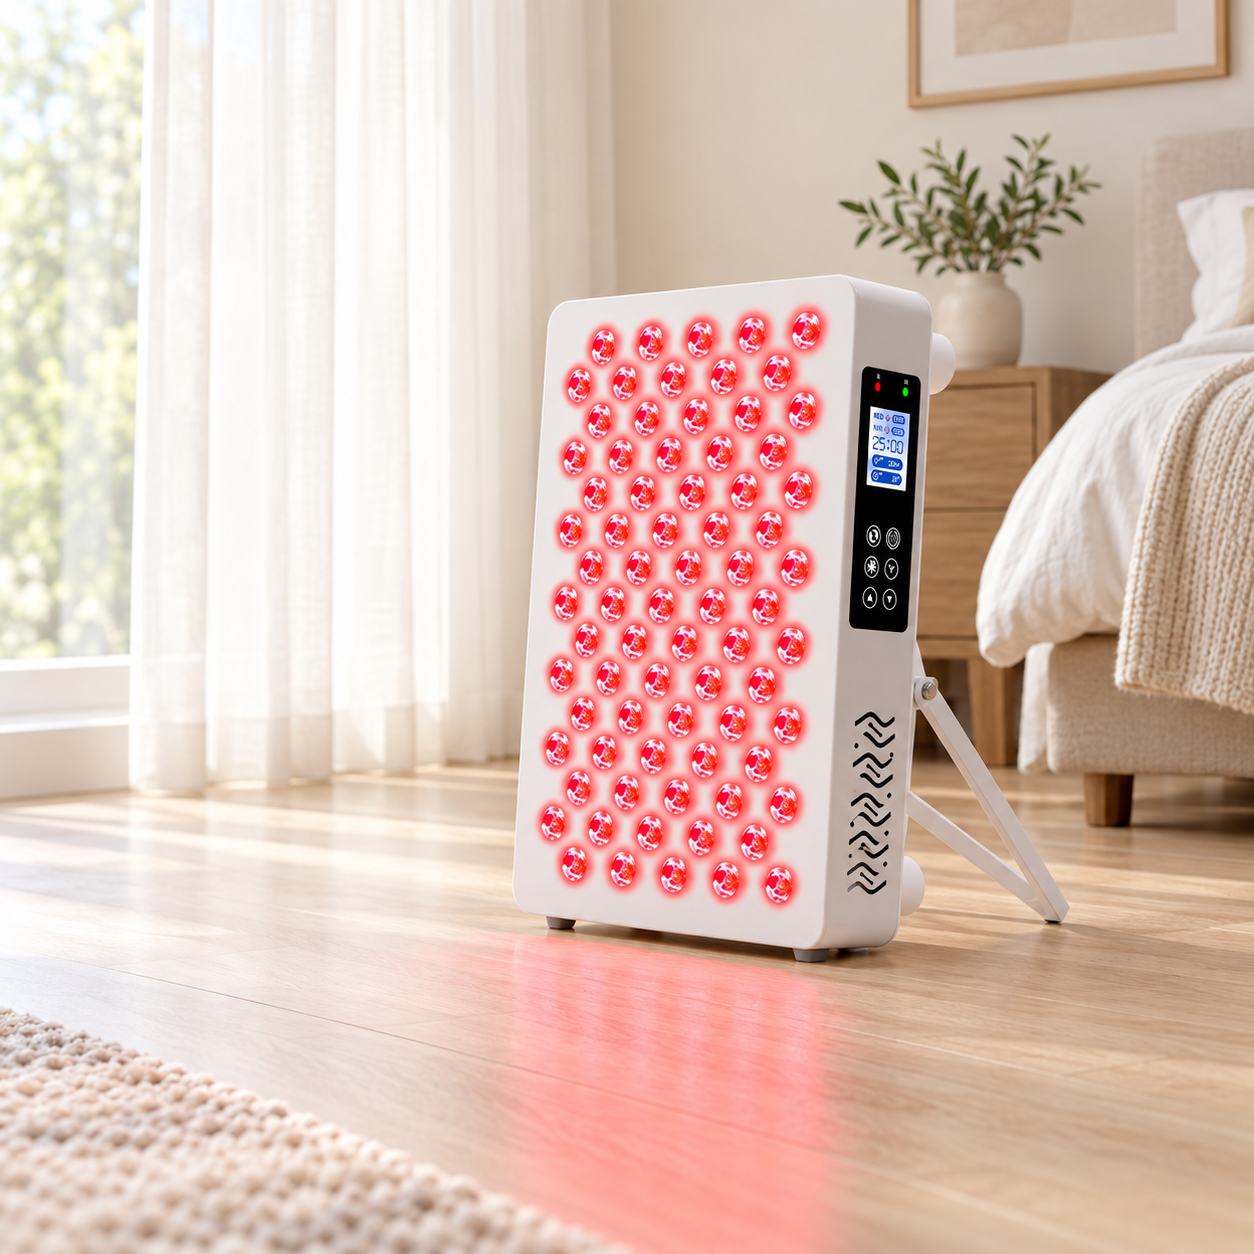
Place the panel where its stand or base can sit securely on a level surface. Keep it in a dry indoor area, with a suitable power outlet nearby and a clear path for the cord. Arrange the cord so it will not be pulled, pinched, or tripped over. Allow any clearance or ventilation specified in the model instructions.
Assemble only as directed
Before switching the panel on, check that you have the parts listed for your model. Follow its instructions when attaching a stand, base, or other supplied accessory. Make sure the assembled panel is stable before connecting it to power. Do not improvise a mount or use accessories that are not specified for that model.
Check the controls before your first session
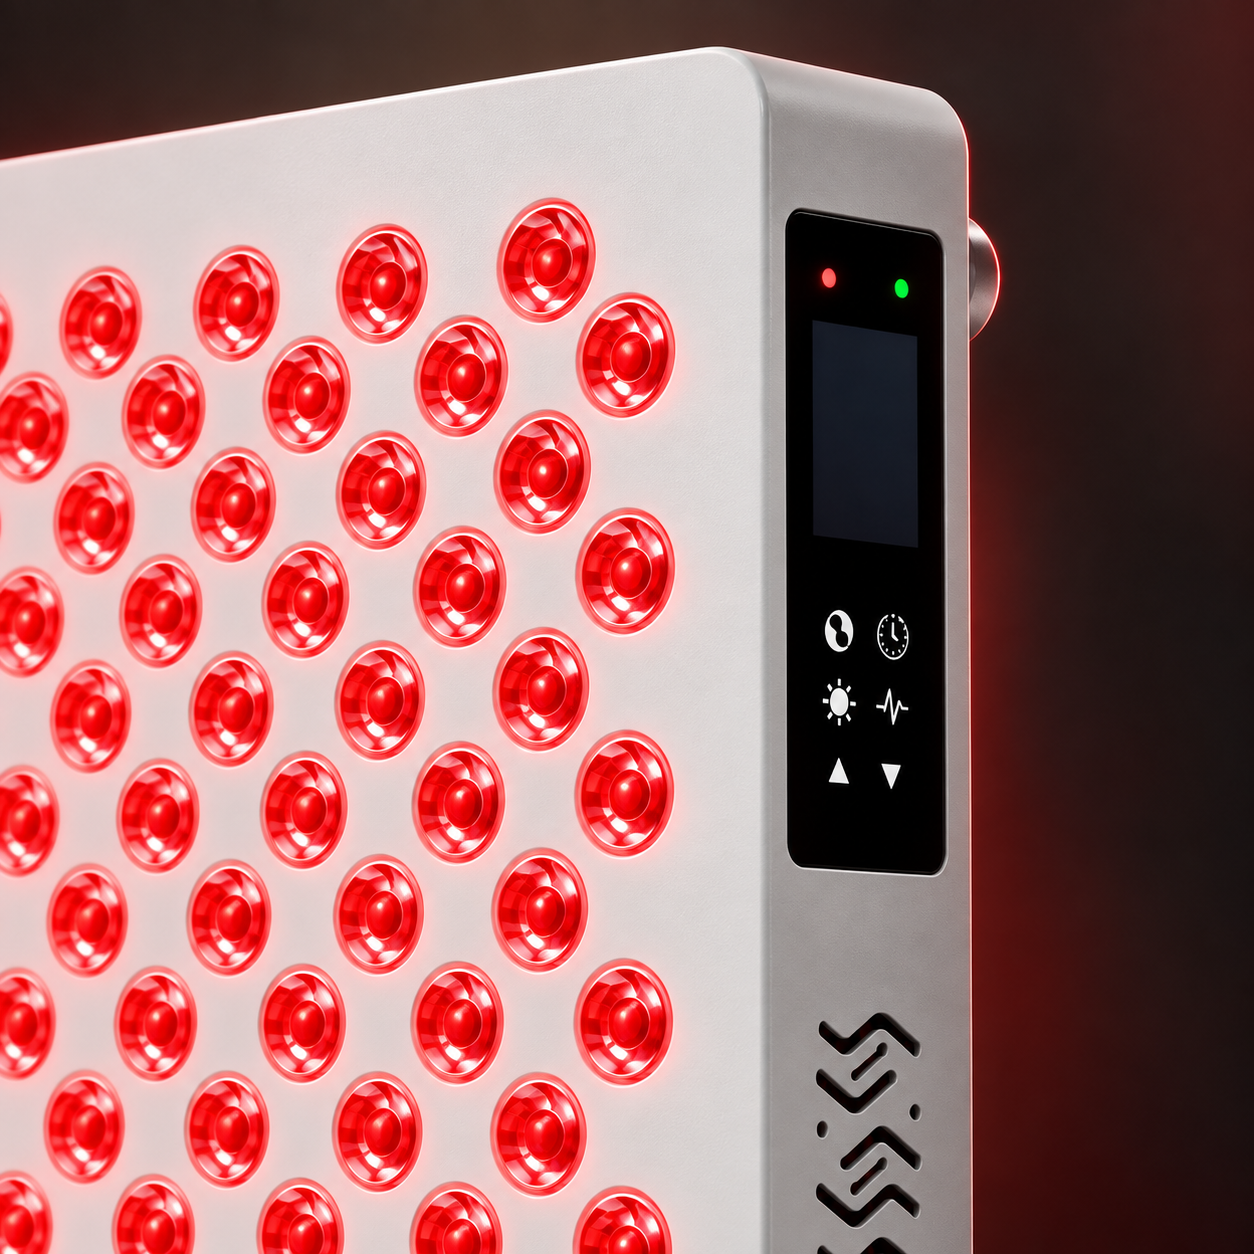
Find the power control and review any available settings in your model's guide. Follow the stated positioning, distance, and session guidance for that panel; these details are model-specific. If the instructions call for protective eyewear, use the type they recommend.
Keep the setup easy to maintain
Switch the unit off and disconnect it from power before moving or cleaning it, following the supplied instructions. Check the cord and panel for visible damage before use. If the panel does not operate as expected, stop using it and contact LumHarbor support with the model name and your order details.
Still choosing a format? See our Compare Models page, then confirm the exact setup in the product listing.